If you’re working your way to creating a flawless base or contoured cheeks, you can’t live with your favorite foundation, primer or toner alone. You’ll also need makeup sponges for a perfect finish!
However, you’ll notice that now, makeup sponges come in different shapes and sizes. And definitely, they are created with distinct characteristics for some important reasons.
If you’re quite unsure about how to make the most of these essential makeup tools, read on to discover everything you need to know about makeup sponges.
What are Makeup Sponges For?
Makeup sponges might be among the makeup tools that you’re most familiar with. However, it is only in recent years that they have undergone transformations to be considered as one of the most popular beauty tools.
As many would say, makeup sponges are game-changers. They are essential for smooth and easy makeup application and are crucial for creating a perfect blend.
But as mentioned earlier, there is a variety of makeup sponges available in the market today. They are created differently to complete a specific purpose–this and more are among the points will discuss in the next section.
MAKEUP SPONGES IN VARIOUS SHAPES: THE DIFFERENCES
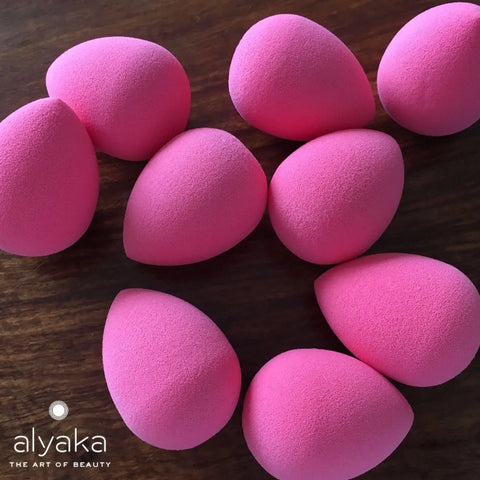
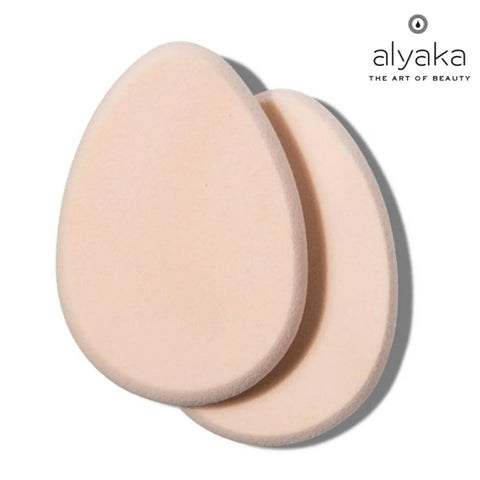
EGG-LIKE MAKEUP SPONGES
Characterised by a wide base and tapered tip. It is a versatile makeup sponge that works for a wide range of applications.
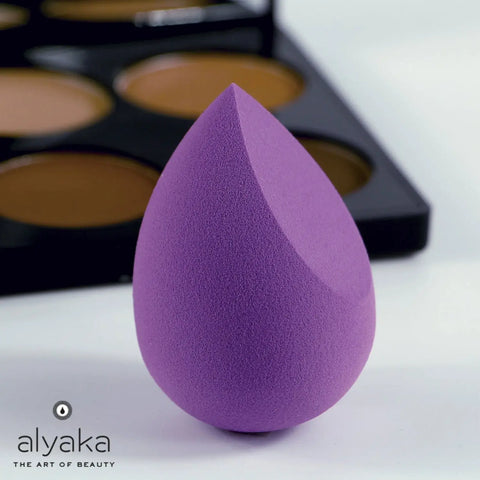
EGG-SHAPED MAKEUP SPONGES WITH A FLAT EDGE
Shaped to perform. It comes with a precision tip that is designed for blemishes. It has a rounded side for stippling while its flat edge can be used for contouring.
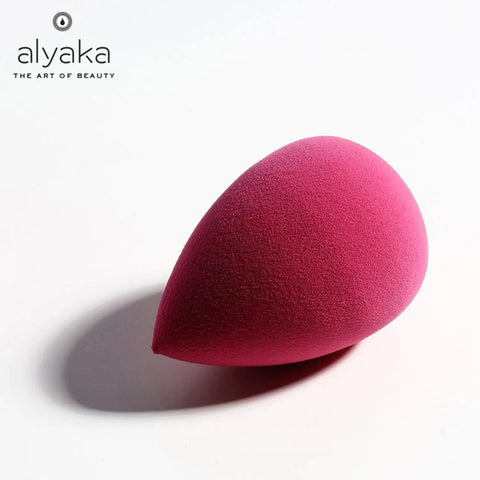
TEARDROP MAKEUP SPONGES
This makeup sponge has a strategic shape that intends to fit the contours of the face for easy application.
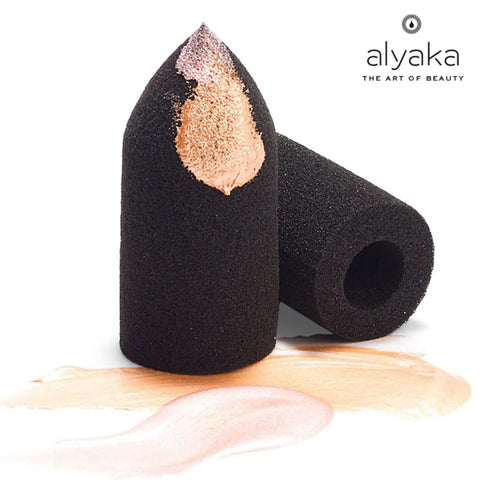
FINGER-SHAPED MAKEUP SPONGES
Works like a spare finger for makeup application–but a lot better! It allows precision, especially when applying makeup on hard to reach areas such as the sides of the nose and inner corners of the eyes.
DIAMOND SHAPED MAKEUP SPONGES
This makeup sponge works in three ways. Firstly, its small tip is intended to cover spots. Secondly, the larger wedge-like part is for the forehead and cheeks. Lastly, the smaller part is used for contouring the face.

WEDGE SHAPED MAKEUP SPONGES
It comes with a pointed tip for fast and easy application. It has a dome side for swift blending and its round edge works conveniently for buffing. This makeup sponge is perfect for on-the-go application.
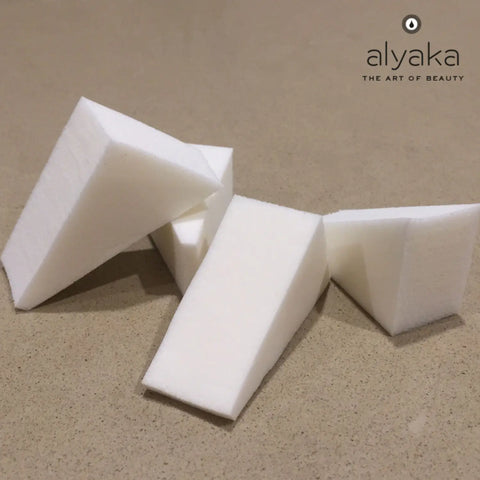
FLAT AND ASYMMETRICAL MAKEUP SPONGES
These are the traditional makeup sponges that you’re familiar with. They are most preferred for the application of loose and pressed face powders.
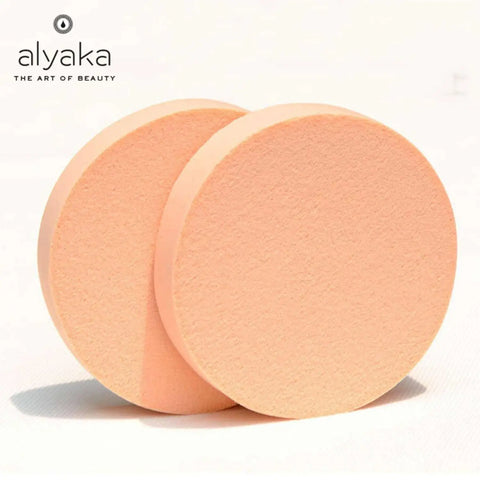
ROUND DISC MAKEUP SPONGES
Similar to the traditional makeup sponges but thicker and larger. Perfect for application of cream foundations in a compact housing. It also works well in blending liquid and stick formulations and may be used as an alternative for teardrop-shaped sponges.
ARE YOU USING MAKEUP SPONGES THE RIGHT WAY?
It’s not enough to know the types of makeup sponges to use. You also have to know how to use them properly. After all, the result of your makeup application will also depend on the correct usage of your tools.
Here’s a quick guide that will help you in using makeup sponges for a range of applications. Let’s start with the basics!
THE 5 BASIC STEPS OF USING MAKEUP SPONGES
1. WET
Wet makeup sponge with water. This will ensure that the makeup you’ll apply won’t be absorbed by the sponge. It also contributes to achieving a hydrated and natural finish.
However, in cases when you’re aiming for heavier coverage, wetting your makeup sponge is not recommended to achieve the results you want.
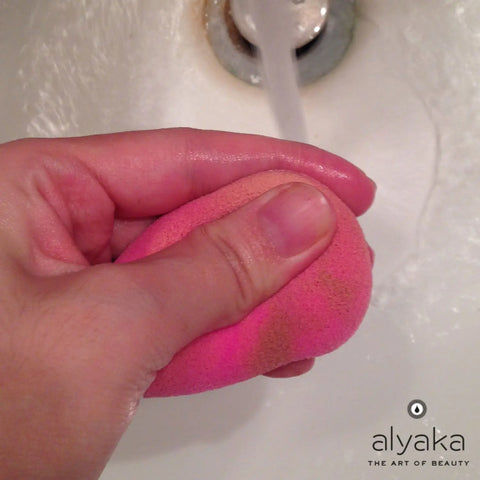
2. SQUEEZE
This next step is to get rid of the excess water and leave only the right amount of wetness needed for your makeup sponge.
3. COVER
Coat your makeup sponge with the product you’ll apply on your face. Another option is to dot your face with your makeup and spread it using your sponge–an option that is especially suited for creams and liquid products.
4. BOUNCE AND/OR DRAG
Bouncing your makeup sponge over your skin will help achieve a flawless finish. On the other hand, although dragging the sponge is often discouraged to prevent uneven application, another technique which is the bounce and drag can be used especially when contouring or when using highly pigmented makeup.
5. BLEND
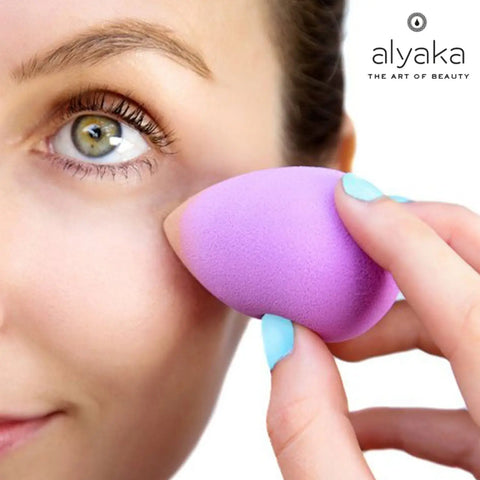
Finish by doing a bit of blending your makeup on your skin. Move your sponge towards the right direction to eliminate harsh edges, smooth creases, and achieve a sheer finish.

CLEANING AND STORAGE TIPS FOR YOUR MAKEUP SPONGES
One thing that you don’t want to end up with is a dirty makeup sponge. Remember, this makeup tool will be touching your skin. For sure, you’d want to avoid causing harm or blemishes on your complexion because of improper cleaning and storage.
Below are some tips that will come in handy when using makeup sponges.
- Usually, there are specially formulated cleaning agents for makeup sponges. However, you can also use a mild soap to clean it thoroughly.
- Rinse your makeup sponge under warm water until the liquid you’ll squeeze out of it becomes clear.
- To dry, use a clean towel that can remove moisture from your makeup sponge. Leave it flat on the towel until all moisture is removed.
- Clean your makeup sponge at least once a week. Replacement depends on the frequency of use.
- Store in a dry place. Some makeup sponges come with cover and packaging that work as eco-friendly counterparts that you can use for storage.
ALSO READ: What are the Types of Makeup Brushes that Professional Makeup Artists Use?
Makeup sponges have undergone transformations to complement the needs of beauty enthusiasts like you. These tools are considered workhorses especially in achieving a flawless finish. Nevertheless, it is also important to keep in mind the importance of using the best makeup products and tools together for the best results.
Did you find this article useful? Share it with a friend who is just as curious as you in discovering the best beauty products!


