Makeup contouring has taken the beauty industry by storm. And the rave on this makeup technique continues to intensify especially with more celebrities and beauty gurus sharing their Instagram-perfect looks.
Now if you are one of the people who is often left wondering how the makeup artists mastered the art of contouring, this article answers your questions as we highlight the basic techniques that you must know to achieve the perfect contour.
MAKEUP CONTOURING TIPS FOR YOUR FACE SHAPE
Makeup contouring is not just about blending and highlights, you have to consider the shape of your face to know the areas that you need to enhance and work on.
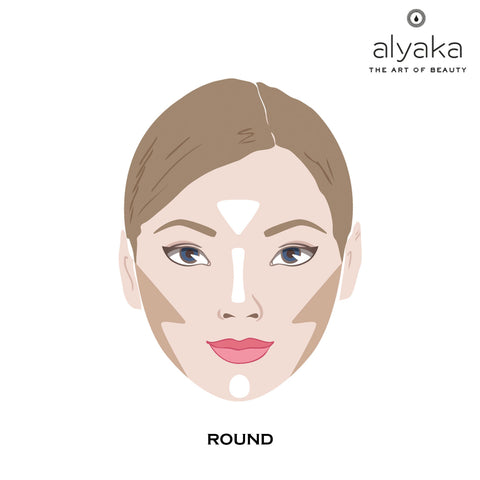
- Round: For this shape, contouring should be done on the temples, sides of the jawline and cheekbones to create added definition and enhance the dimension in your face to make it look more oval.
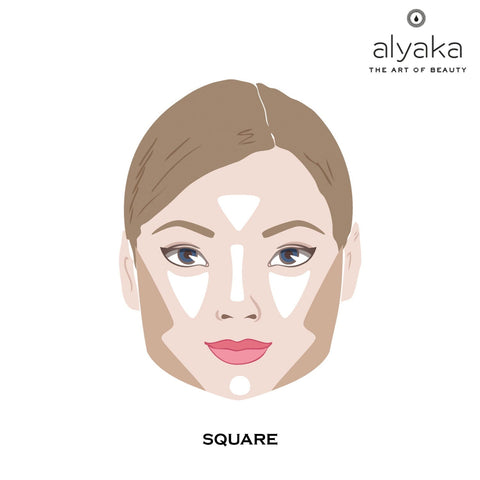
- Square: Soften the sharp angles of your face by adding contour on the sides of your forehead and underneath your cheekbones, with the direction pointing towards the chin.
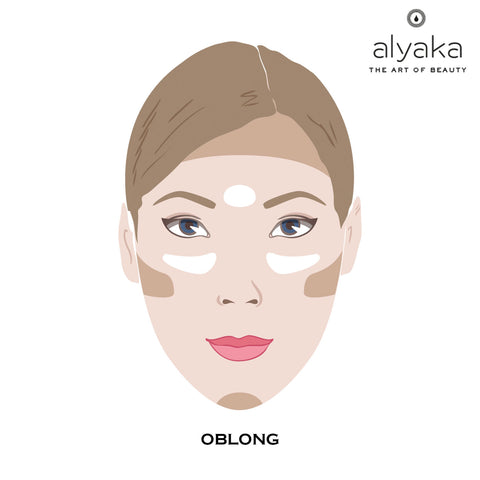
- Oblong: Focus should be given on the forehead and chin as this will add more dimension to your face. Contour at the forehead, then on the sides of the jaw, before blending towards the chin area.
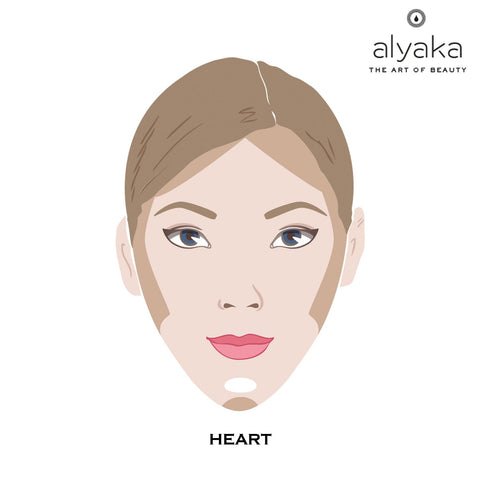
- Heart: Contour should be done along the sides of your forehead and temples as this will create a balance between the upper and lower parts of your face. Attention should also be given on the small point below your chin to make the area look soft.
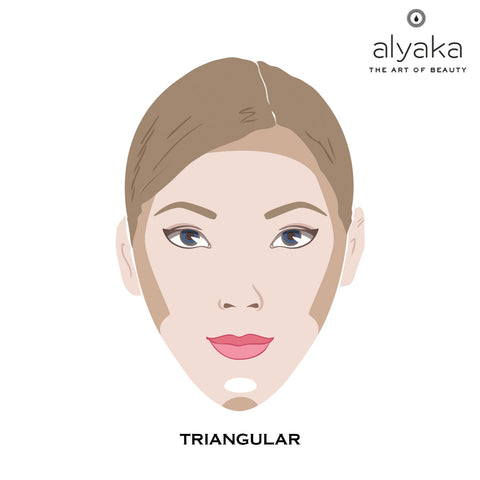
- Triangular: When contouring a triangular-shaped face, the goal is to create a proportion between the narrow and broad points and make it appear more oval. Contour should be on the jaw line while adding highlights to the temples and under the eyes.
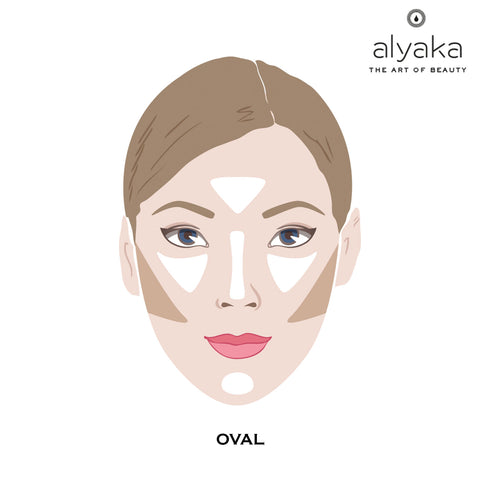
-
Oval: People with the oval-shaped face should contour right below the cheekbones for added emphasis. The goal is to make certain areas of your face more prominent.
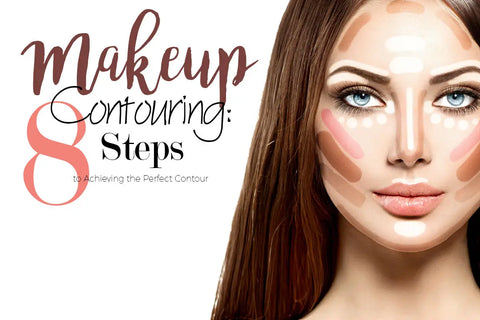
MAKEUP CONTOURING: 8 STEPS TO ACHIEVE THE PERFECT CONTOUR
Finally, now that you have learned the fundamentals of makeup contouring as well as the makeup brushes and tools that you must use, it’s time to know the steps that will help you achieve the perfect contour.
STEP 1: PREPARE YOUR MAKEUP CONTOURING TOOLS
Contouring can be accomplished with perfection with the right blending technique and tools. Below you will find a rundown of the makeup contouring brushes that can help you achieve a chiselled look in no time.
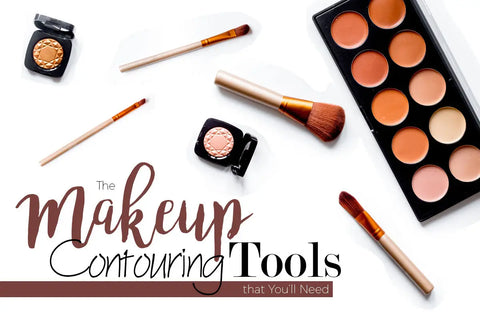
Here are the things that you will need:
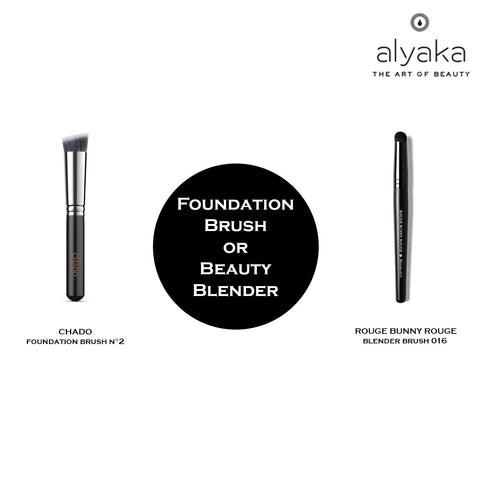
#1: FOUNDATION BRUSH OR BEAUTY BLENDER
As mentioned above, you will need an even-toned face to use as your canvas and to achieve that, you will need a blending tool that will allow you to work with the foundation and concealer for perfect application.
Alyaka Recommends:
Chado Foundation Brush
Rouge Bunny Rouge Blender Brush
# 2: BLUSH BRUSH
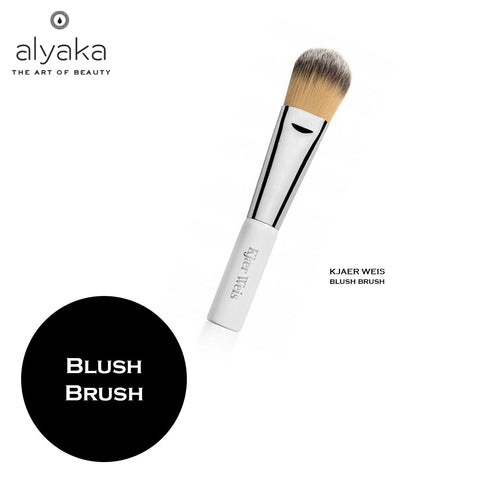
Put the right amount of colour to your cheeks with this makeup brush. Available in flat and angular shapes so you can choose according to your personal preferences.
Alyaka Recommends:
Kjaer Weis Blush Brush
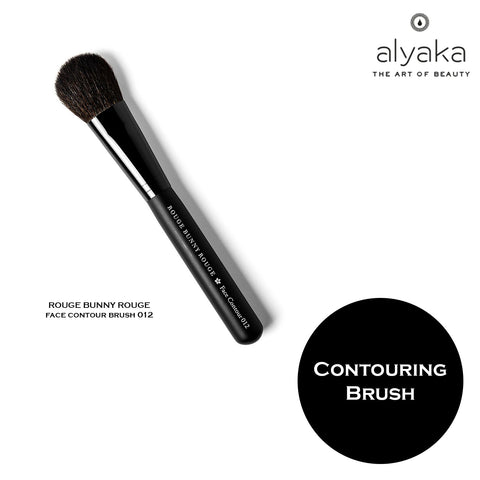
# 3: CONTOURING BRUSH
An angled powder contour brush is especially useful for contouring with powder-based bronzer or highlighter. It works perfectly to apply light and dark hues. Another type of brush that you can use are the dual-purpose contouring brushes with both ends serving a specific purpose. Multi-tasker and helps you save on the cost of two contour brushes.
Alyaka Recommends:
Rouge Bunny Rouge Face Contour Brush
# 4: POWDER BRUSH
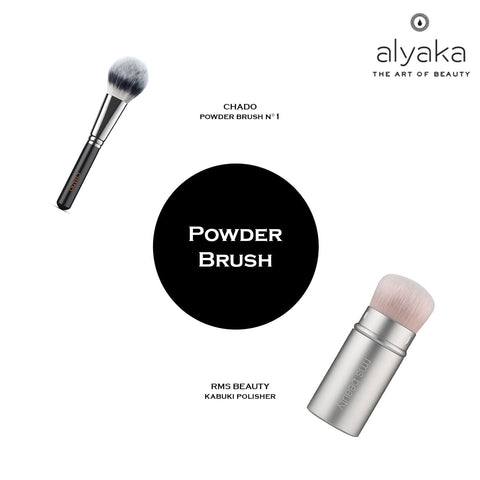
Finish your makeup with a setting powder and there is no better way to do that than with a powder brush. Choose the large one that is designed to be used with a compact powder to allow flawless and natural application.
Alyaka Recommends:
Chado Powder Brush
RMS Beauty Kabuki Polisher
# 5: LIP BRUSH
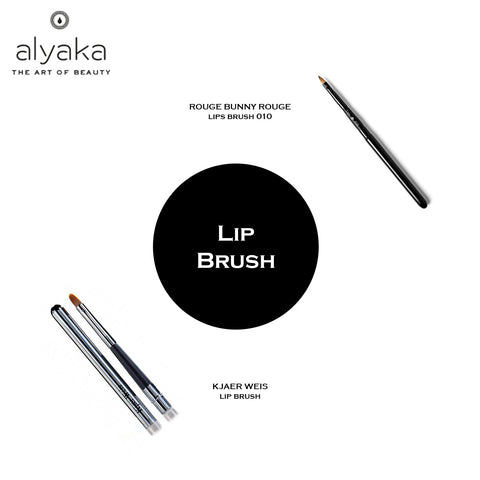
If you think that you’re already done with contouring by taking care of your cheeks, nose and forehead, makeup contouring isn’t complete yet if you will not shape and define your lips. A lip brush that will help you draw the perfect cupid’s bow will be worth it!
Alyaka Recommends:
Rouge Bunny Rouge Lip Brush
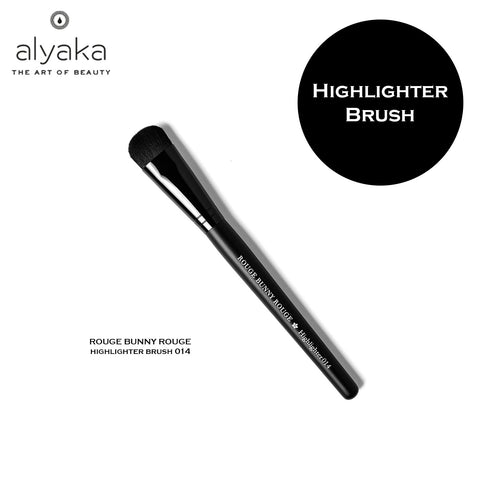
#6. HIGHLIGHTER BRUSH
As contouring and highlighting go hand in hand, you will need a highlighter brush for your face. Choose one with a flat and rounded tip as it allows a more compact and immediate application.
Alyaka Recommends:
Rouge Bunny Rouge Highlighter Brush
STEP 2: USE A PRIMER TO PREP YOUR SKIN
Using a primer is the secret to flawless and long-lasting contour as it will provide the smoothest area for you to start a clean and perfect makeup. As a rule, choose a matte primer as it works fine in achieving highlights and shadow effects.
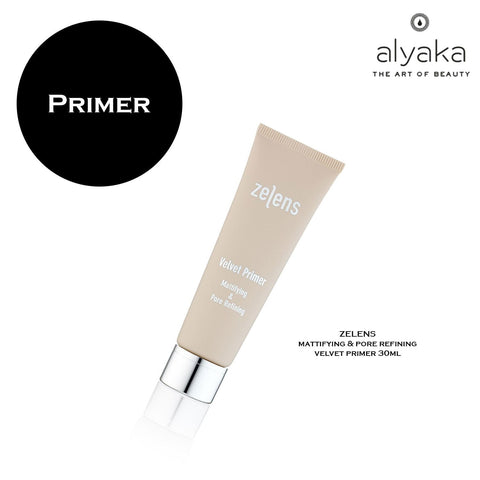
Alyaka Recommends:
Zelen’s Mattifying & Pore Refining Velvet Primer
STEP 3: HIDE IMPERFECTIONS WITH A CONCEALER
To achieve a smooth and flawless look, you will need to get rid of your blemishes and skin breakouts. Good thing that though it seems like a problem, a concealer can come to your rescue.
TIP: A lightweight concealer easily blends into your skin. On the other hand, liquid concealers look more natural than your other options.
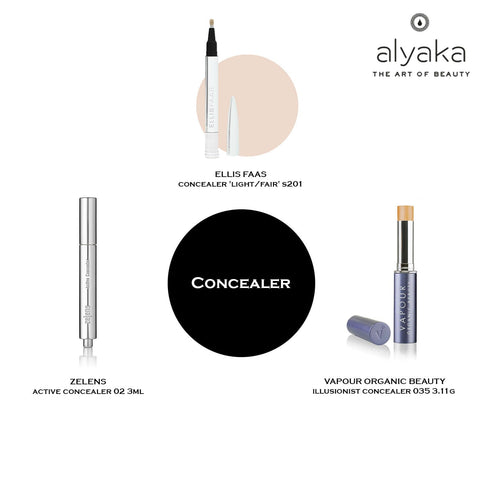
Alyaka Recommends:
Vapour Organic Beauty Illusionist Concealer
STEP 4: APPLY FOUNDATION FOR A SMOOTH AND EVEN BASE
To achieve satiny coverage and smooth finish, you will need a foundation. And for a flawless contour, you will find a suitable solution in liquid-based formulas. Get it done right without looking cakey by applying a light layer and slowly building on it, as necessary.
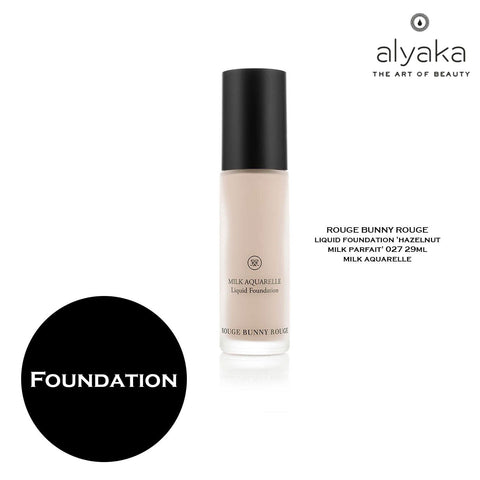
Alyaka Recommends:
Rouge Bunny Rouge Liquid Foundation
STEP 5: CHOOSE A CONTOURING AND HIGHLIGHTING POWDER
Find a highlighter that is one or two shades brighter than your complexion. Use it to naturally catch the light and add emphasis to the area under your eyes, your nose bridge, forehead, and chin. For your contouring powder, it is important to choose a shade that is twice darker than your natural complexion.
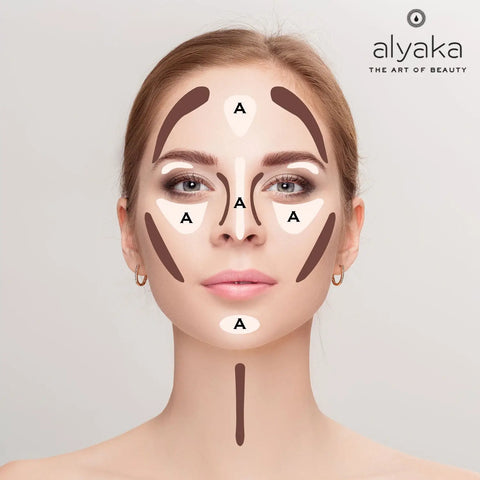
TIP: A matte bronzer works great for contouring, while you can use powder, liquid or cream-based products for your highlighting needs.
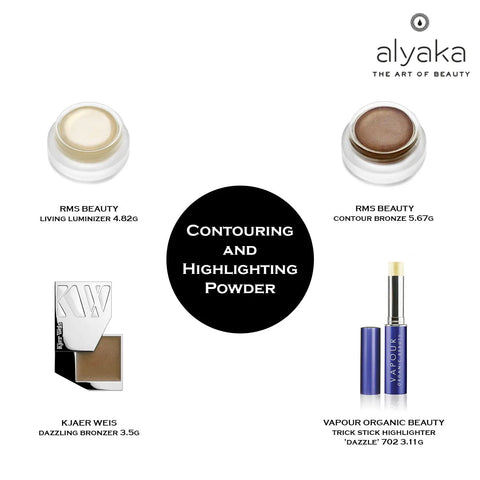
Alyaka Recommends:
Vapour Organic Beauty Trick Stick Highlighter
STEP 6: START CONTOURING
Gently apply the contouring makeup in a back and forth motion using a brush, while focusing on specific areas of the face that you want to define, including your forehead, hairline, cheekbones, jawline, and neck.

STEP 7: BLEND AND SET!
Using a blending brush or a beauty sponge apply quick dabs until the lines are no longer noticeable. Blending is crucial in achieving a flawless and natural look. For long-lasting results, finish with a light setting powder.
STEP 8: THE FINAL TOUCHES
Add a touch of blush on your cheeks. Apply lipstick and you’re all set to show off your perfect contour!
Did you find this article useful? Are there other beauty topics that you want us to discuss? Let us know by leaving a comment below.
